It’s really easy to make self-adhesive labels yourself at home. You just need basic supplies like printable sticker paper or adhesive tape. Most people create these labels to mark storage jars, sort office folders or decorate gift packages. Below are the common types of sticker paper you can pick from:
| Paper Type | Details |
|---|---|
| Matte Paper | Ideal for handwritten text, delivers a soft muted finish |
| Glossy Paper | Shiny surface, gives a polished professional look |
| Clear Transparent Paper | See-through, blends seamlessly with the surface it sticks to |
| Vinyl Paper | Extremely long-lasting and fully waterproof |
You can tailor labels for all sorts of personal and small business uses. For large-scale commercial projects, you can also opt for professional label-making supplies.
Key Takeaways
- Choose sticker paper according to your usage needs. Matte, glossy, clear and vinyl options each serve different purposes.
- Use a home printer or handheld label maker to design custom labels; you can arrange layouts freely and add your personal style.
- Always wipe and clean the surface thoroughly before applying labels. This helps labels stick tighter and last much longer.
Materials Needed for DIY Self-Adhesive Labels
Basic Supplies
You only need a few things to make labels. Most people use a home printer for custom labels. You can make labels for jars, folders, or storage bins. Label makers help you print small and neat words. Printable label sheets are good for big projects. Clear label tape matches the surface and looks tidy. Specialty papers let you make labels in any shape or size. These supplies are easy to find and simple to use.
- Home printer
- Label maker
- Printable label sheets
- Clear label tape
- Specialty papers
Tip: Specialty papers are perfect for special labels. You can make any design you want with them.
Optional Tools
Some tools make making labels easier and better. Online programs help you design and print labels with fun fonts and colors. Design software lets you add barcodes or storage info. Scissors and rulers help you cut straight lines. Laminators keep labels safe from water and dirt.
- Online label design programs
- Design software
- Scissors
- Ruler
- Laminator
Alternative Materials
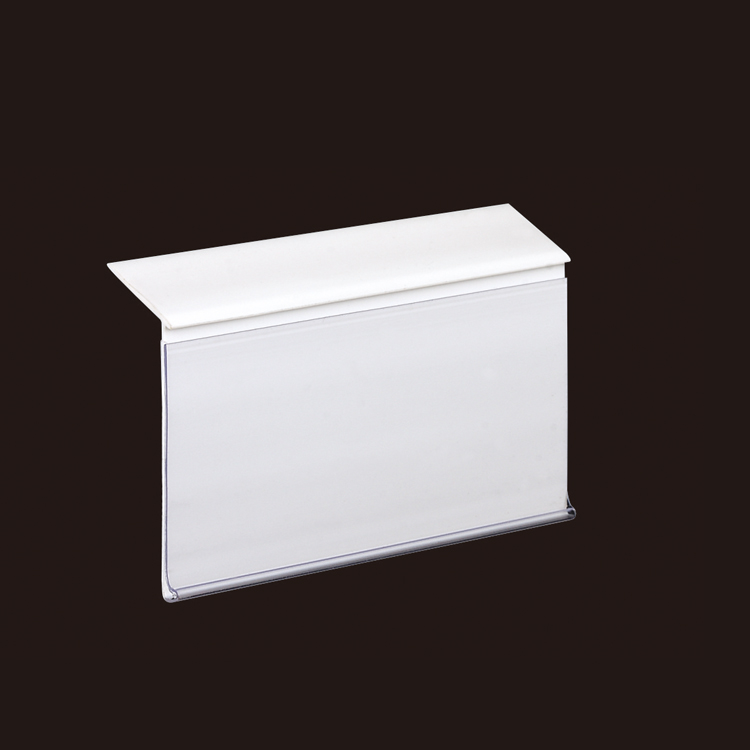
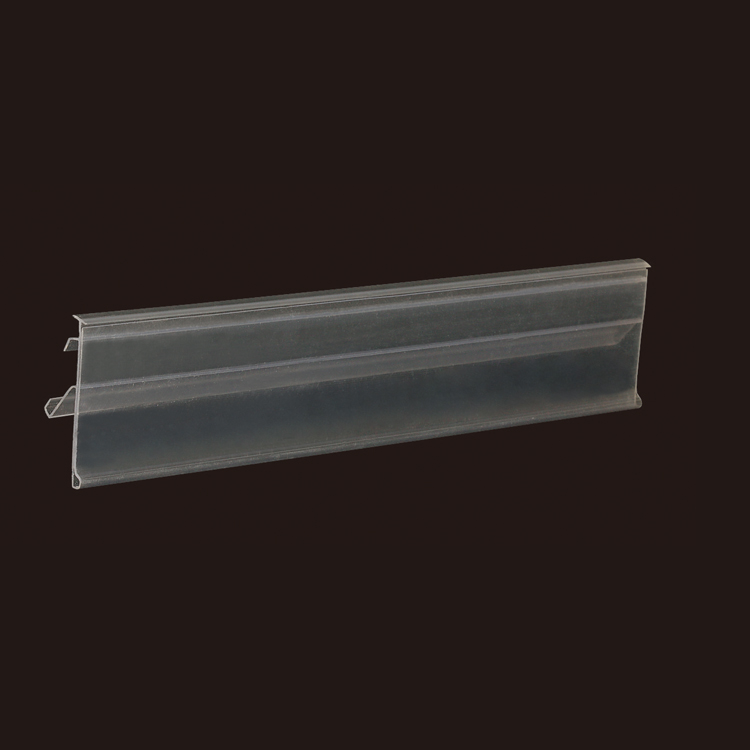
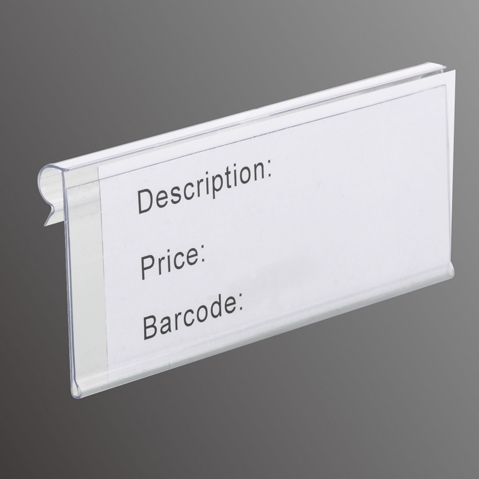
If you run out of dedicated label supplies, you can make makeshift sticky labels using packing tape, wax paper or cardboard. Press down firmly, and the labels will adhere to most surfaces. A clean, dry mounting surface always delivers better sticking performance. For commercial use, IDmate adhesive sign holders are sturdy and transparent. Different materials come with different service lifespans, as shown below:
| Material | Durability | Average Service Life |
|---|---|---|
| Acrylic | Robust and easy to wipe clean | 4–6 years |
| Standard Plastic | Less durable, prone to cracking over time | 6–18 months |
| Cardboard | Lowest cost, shortest lifespan | 1–3 months |
DIY Self-Adhesive Label Steps
Design Your Label
Making a self-adhesive label starts with your ideas. Many people use online tools to make their labels special. You can use canva to design your label. Canva is easy to use and has many templates. Maestro Label Designer is good for simple templates. LabelNinja helps you make custom shapes. Some people use Adobe Creative Cloud for more control, but it is harder to learn. Others use Microsoft Word for easy projects. The table below shows some popular design programs:
| Software Name | Key Features | Pros | Cons |
|---|---|---|---|
| LabelNinja | Custom labels, easy editor | Built for labels | Fewer advanced tools |
| Adobe Creative Cloud | Multiple design tools | Full control | Hard for beginners |
| Maestro Label Designer | Templates for label sizes | Made for labels | Limited customization |
| Canva | Drag-and-drop, many templates | Beginner-friendly | Some paid templates |
| ZebraDesigner | Barcode formatting | Strong barcode tools | Limited creative design |
| DYMO Connect | Office labeling | Simple interface | Limited customization |
| Microsoft Word | Built-in templates | Convenient | Not dedicated for labels |
You can save your design in canva and print it later. Many people like to add colors, logos, or barcodes to their labels. Some people pick die-cut labels for fun shapes. Others use rectangles because they are easy to stick on.
Tip: Try using different fonts and colors to make your label look cool.
Print or Write
The next step is to print or write your label. You can use a laser printer if you want waterproof labels. Inkjet printers are good for photo labels. Label makers help you make neat and strong labels. Some people write by hand for a personal touch. The table below shows which printers are best:
| Printer Type | Best For | Notes |
|---|---|---|
| Laser Printer | Waterproof labels | Good for large quantities |
| Inkjet Printer | Photo labels | High-quality images |
| Label Makers | Sharp, durable labels | Many labeling needs |
If you want your sticker labels to last longer, use a laser printer. Label makers are good for clear words. Some people mix printing and handwriting for special designs.
Note: Always check your printer settings before you print your label.
Cut and Prepare
Cutting and getting the label ready is important for a nice look. You can use scissors for easy shapes. A ruler helps you cut straight lines. Some people use die-cut labels for cool shapes. Others try full cut or half cut methods. The table below explains how to cut labels:
| Cutting Technique | Description | Applications |
|---|---|---|
| Full Cut | Cuts through material for final shape | Custom-shaped labels, stickers |
| Half Cut (Kiss Cut) | Cuts top layer, keeps liner intact | Roll labels, peel-off labels |
| Perforation | Tear line for easy removal | Coupons, tickets, promo labels |
| Variable Data Cutting | Matches cutting to changing data | Serialized, custom labels |
| Digital Laser Cutting | Flexible paths, no physical dies | Complex designs, short runs |
Some people use digital laser cutting for hard shapes. Others use perforation so labels are easy to tear off. Many people like die-cut labels for special projects.
Tip: Clean the surface before you put on the label. Use warm soapy water for plastic. Use vinegar for glass. Make sure the surface is dry.
Apply Adhesive
Putting on adhesive helps the label stick well. Sticker paper is easy to use for this step. Some people use flour glue or sourdough glue from home. Others use tape or wax paper if they do not have glue. The table below shows some common adhesives:
| Adhesive Type | Ingredients | Description |
|---|---|---|
| Flour Glue | Flour, water, optional alum | Non-toxic, good for paper and cloth |
| Sourdough Glue | Barley flour, water | Strong, used for shoes historically |
Tape is good for quick fixes. Wax paper makes the label smooth. Press the label down to get rid of air bubbles. A ruler can help you smooth the edges.
Note: If you clean the surface first, your label will stick longer.
Attach and Finish
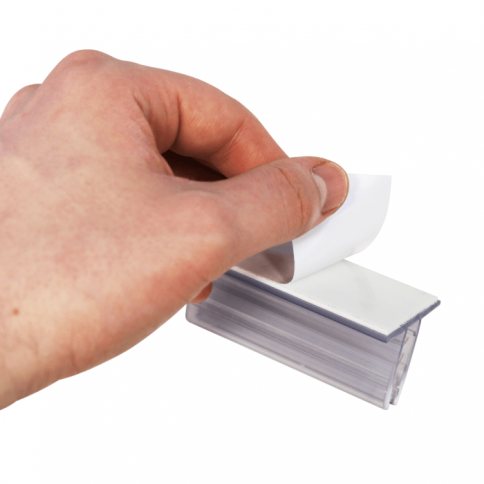
The last step is to attach and finish your label. Pick the right adhesive so your label stays on. Press the label down with even pressure. Many people keep labels in a cool, dry place. Some use a laminator to protect the label. If you have problems, check these tips:
- Tape jamming: Clean the tape path.
- Tape not feeding: Check the feed roller.
- Faded print: Replace batteries, clean print head.
- Misaligned text: Adjust margin settings.
- Device not powering on: Check power connections.
You can use your sticker label for jars or folders. Die-cut labels are fun for gifts or crafts. If your label does not stick well, clean the surface, press hard, and keep it dry.
Tip: For business or tough jobs, try professional products like IDmate’s Adhesive Sign Holders.
DIY Labels: Alternative Methods
Packing Tape Method
This is the most popular quick homemade method with no special tools required. Write or print your design on plain paper first, cut the label to size, then cover the entire front surface with clear packing tape. The tape acts as a waterproof protective film and gives the label a glossy finish. Press firmly to remove all air bubbles, trim off excess tape around the edges, then stick the finished label onto jars, boxes or folders. It works perfectly for small-batch needs.
Wax Paper Method
Wax paper creates a smooth peel-off backing for easy sticker removal. Print or draw your design on paper, cut it out, then lay the label flat on a strip of wax paper. Cover the whole label with clear adhesive tape and press down tightly. The wax paper liner lets you peel the tape sticker off effortlessly, turning your artwork into a functional self-adhesive label. This method is ideal for school crafts and hobby projects.
Waterproof Tips
Kitchen and bathroom labels constantly exposed to water need extra protection to last. First, print labels using the photo or glossy print mode on your printer, then leave them to air dry completely. Spray a thin layer of clear glossy sealant from a distance to form a waterproof coat, and wait for it to fully cure before use. You can also brush Mod Podge evenly over the surface with a foam brush to shield labels from water, grease and stains.
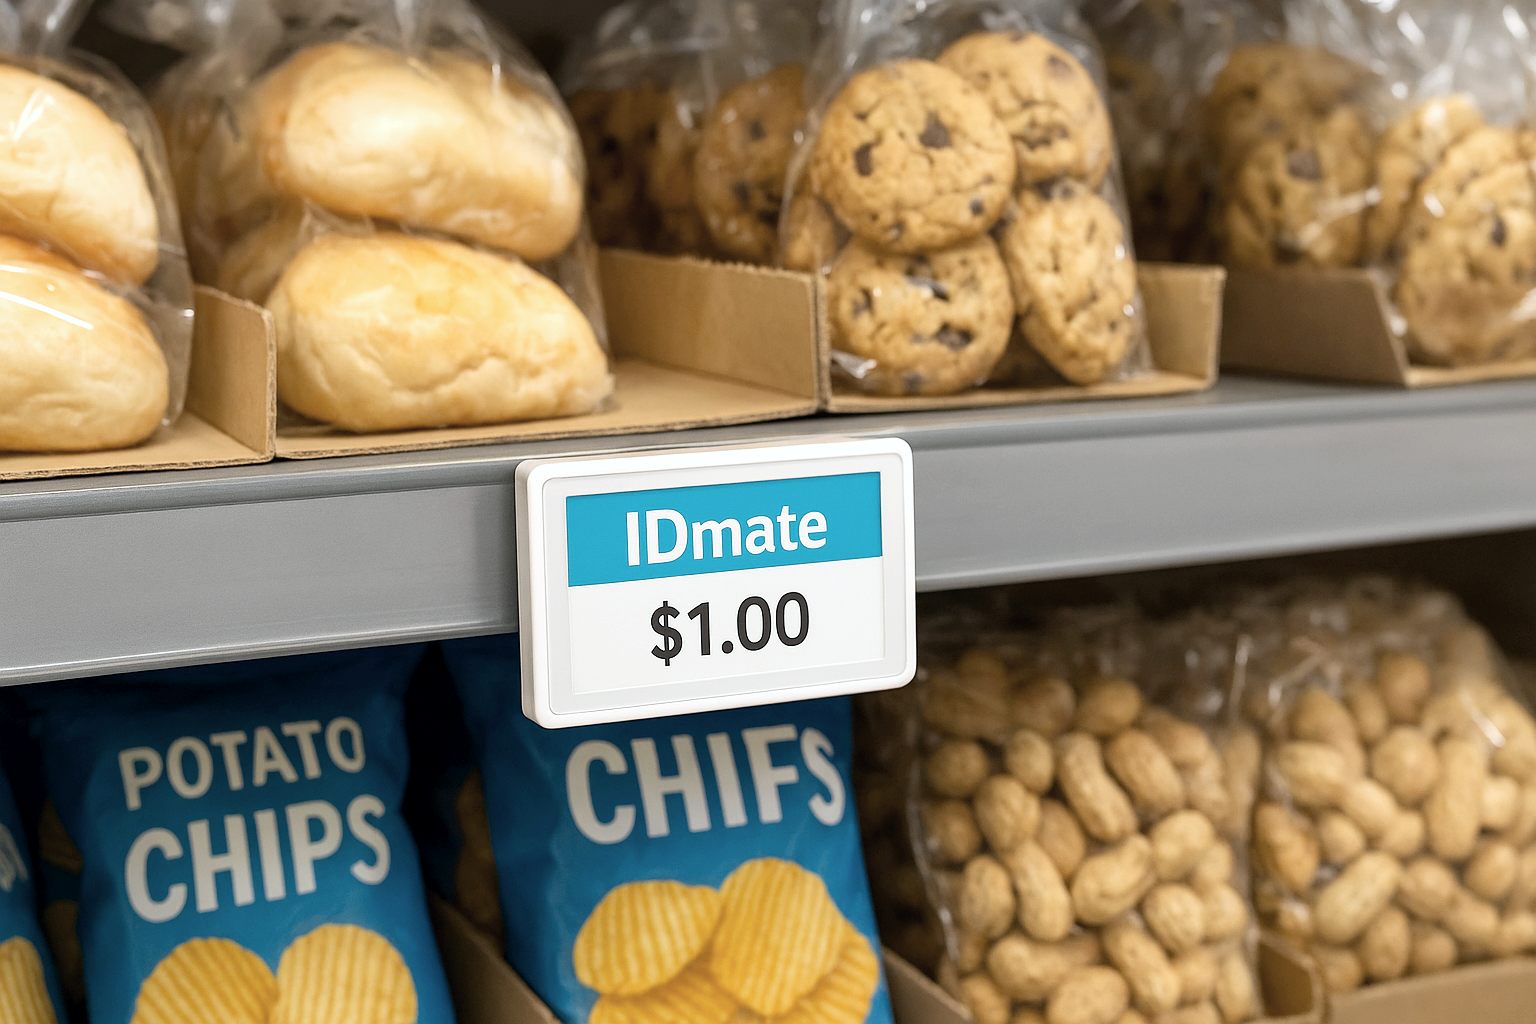
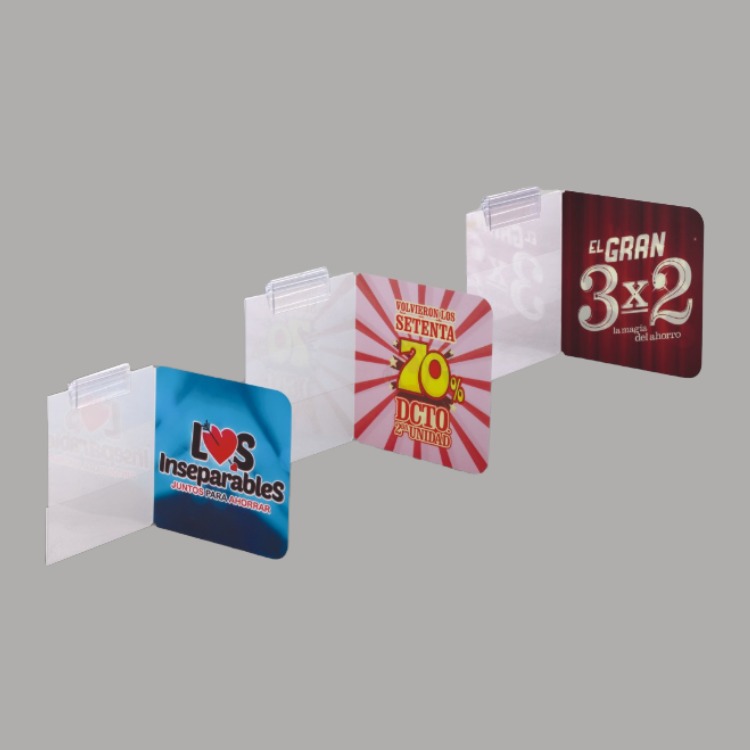
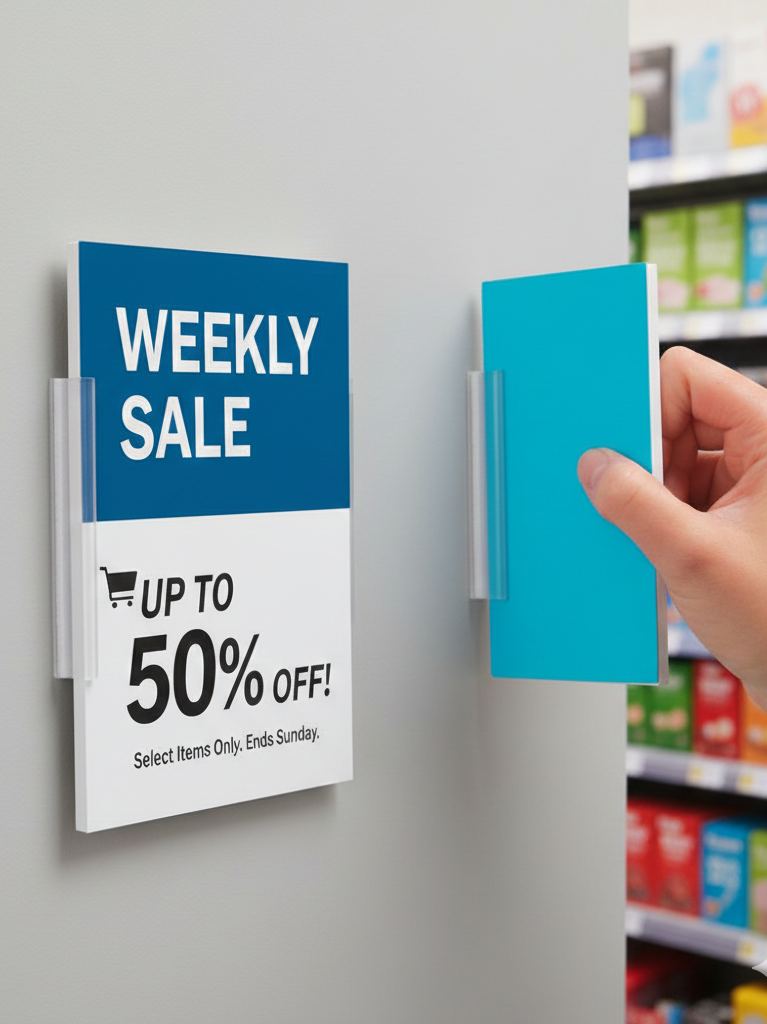
For commercial and heavy-duty applications, most businesses choose custom wholesale label solutions. IDmate is a reliable manufacturer and supplier; its adhesive sign holders safely store and display labels for retail shops, offices and catering venues.
Tip: To peel off old labels without leaving sticky residue or damaging surfaces, use a hair dryer to heat the adhesive, hand sanitiser or a cloth soaked in white vinegar.
Making self-adhesive labels at home is straightforward once you follow these steps. You can design, print, cut and apply labels with affordable everyday supplies for nearly all personal needs. For demanding commercial use cases, IDmate adhesive sign holders deliver reliable long-term performance. Have a go at crafting your own labels and show off your creative work!
FAQ
How can someone make stickers last longer on jars or bottles?
They can clean the surface first. Press stickers down firmly. Use a clear sealant spray for extra protection. This helps stickers stay on jars or bottles for months.
Can stickers be removed without leaving sticky residue?
Yes, they can. People use a hair dryer to warm stickers. Gently peel them off. If needed, rub the area with a little oil or hand sanitizer.
What is the best way to store homemade stickers?
Store stickers in a cool, dry place. Keep them flat in an envelope or plastic bag. This prevents stickers from curling or losing their stickiness over time.