The best way to get labels to stick firmly is to press them down and hold for a while. Give the adhesive some time to cure. Many people get frustrated when labels fall off prematurely. Studies show that about half of all users need to replace their labels because they fall off. Here are some common reasons why labels don’t stick well:
| Factor | Description |
|---|---|
| Application Pressure | If you do not press enough, the label will not stick well and air can get in. |
| Dwell Time | Labels need 24 to 72 hours to stick their best. |
| Application Temperature | The surface should be warmer than 50°F for good sticking. |
| Environmental Exposure | Water, heat, or sunlight can make the adhesive weak. |
| Adhesive Selection | Using the wrong adhesive can make labels not last or fit right. |
People can help get labels to stick better if they follow the right steps.
Key Takeaways
- Press the label firmly to allow the adhesive to spread fully. This prevents air bubbles and helps the label adhere better.
- For best results, allow the adhesive to sit for 24 to 72 hours. This waiting time allows the label to bond more firmly and prevents it from falling off.
- Before applying the label, wipe the surface with isopropyl alcohol. A clean, dry surface helps the adhesive work better.
Best Tip to Make Labels Stick
Press Firmly and Hold for Adhesion
The key to a firm label adhesion is applying sufficient pressure. When you press firmly, the adhesive spreads across the surface. This prevents air from getting under the label and keeps it flat. Many people forget this step, but it really helps. The best way is to start from one side of the label and slowly press horizontally. This reduces air bubbles and prevents the edges from lifting.
Tip: Press the label with your thumb or a flat tool. Press for a few seconds to allow the adhesive to bond better.
People often encounter problems with label edges lifting or curling. This happens when the adhesive doesn’t fully contact the surface. Here are some common tagging issues:
| Issue | Description |
|---|---|
| Edge Lift | The edge of the label comes loose, especially in corners, and is bigger than 1/16” wide by ½” long. |
| Flagging | The edge curls up or moves toward the middle because the adhesive fails. |
| Label Tear | The label rips or does not come off the surface all the way. |
Using the right method helps stop these problems. If you press firmly and hold the label, it sticks better and does not peel.
Allow Adhesive to Set Properly
Over time, the adhesive’s stickiness increases. After the label is applied, the adhesive needs time to fully bond. Most adhesives cure completely within 2 to 24 hours. The time required depends on the type of adhesive and the surface being applied. If the environment is humid or cold, the adhesive will take longer to cure.
- Some adhesives bond quickly in just a few hours.
- Others require a full day to cure completely.
- Rough surfaces slow down the curing process.
Waiting for the adhesive to fully cure before applying the label yields better results. There are fewer bubbles and less peeling. One manufacturer switched to custom labels to fit their machines. This improved their efficiency and extended the label’s lifespan. Another company developed a new gift card label. Customers love its strength and ease of use. STL manufactures labels for a new material used in the credit card industry. These labels have better adhesion and perform well.
Note: For best results, do not touch or move the label while it sets. Let the adhesive work.
Labels stick best when you use the right method and give the adhesive time to set. These steps help stop common problems and keep labels neat.
Prepare Surfaces for Label Adhesion
Getting labels to stick starts with preparing the surface. Many people forget this step, but it is important. Labels need a clean surface to stick well. Dirt, oil, or dust can stop the adhesive from working.
Clean with Isopropyl Alcohol
Isopropyl alcohol is an excellent choice for cleaning surfaces. It can remove grease, fingerprints, and other stains that water or soap may struggle to remove. To clean, pour a small amount of isopropyl alcohol onto a soft cloth, wipe the area where you want to attach the label, and then let it sit for a few seconds to dry. This helps the label adhere better.
Tip: Always use a lint-free cloth. Paper towels can leave fibers that make the bond weaker.
Dry and Smooth the Surface
A dry and smooth surface helps labels stay longer. If the area is rough or bumpy, the adhesive cannot spread evenly. This can make the label peel or bubble. Look at the table below to see how surface texture affects adhesion:
| Factor | Description |
|---|---|
| Surface Smoothness | Smoother surfaces let adhesives stick better and make stronger bonds. |
| Surface Roughness | Rough surfaces make adhesive flow harder and cause weaker bonds. |
- Rough surfaces can make labels bend because adhesive does not touch well.
- Oil or dust on rough surfaces can make adhesion weaker.
If the surface is rough, try sanding it lightly or use a stronger adhesive. Good surface preparation helps labels stay in place and look nice.
Choose the Right Labels and Adhesives
Match Label Material to Surface
Choosing the right label material is crucial. Different surfaces require different labels for secure adhesion. Vinyl labels are suitable for curved or uneven surfaces, offering good flexibility and water resistance. Polyimide labels are heat-resistant and suitable for electronic products or high-temperature equipment. Anodized aluminum labels are robust and durable, maintaining good performance even outdoors and on rough surfaces, and are not easily damaged in harsh weather.
Here’s a quick guide:
| Material | Best Suited For | Key Properties |
|---|---|---|
| Vinyl (PVC) | Curved or uneven surfaces | Flexible, moisture-resistant |
| Polyimide (Kapton®) | High-temperature applications | Handles up to 500°F, chemical resistant |
| Anodized Aluminum | Outdoor, industrial environments | Weatherproof, durable, handles extreme temps |
| Polyester (PET) | Long-term asset marking | Tear-resistant, UV stable |
| Polycarbonate | Graphic overlays, panels | Scratch-resistant, clear |
Select Adhesive for Conditions
People need the right adhesives for tricky tasks. Strong adhesives allow labels to stick firmly in humid or hot environments. Acrylic adhesives are ideal for outdoor use; they are durable and waterproof/sun-resistant. UV-resistant acrylic adhesives are especially suitable for direct sunlight or high-temperature environments. If you need to apply labels to metal or glass, use a strong adhesive. High-performance adhesives are particularly suitable for warehouse, shop, or outdoor environments.
Tip: Always pick the right adhesive for the surface and place. This helps labels stay on and look nice.
How to Get Labels to Stick on Different Surfaces
Glass, Metal, and Plastic
People often find it difficult to get labels to stick firmly to glass, metal, or plastic surfaces. These surfaces can be smooth or slippery, so pressure-sensitive labels work best. Before applying, always clean the application area. A quick wipe with isopropyl alcohol can remove grease and dust. Then, dry the surface and ensure it is smooth. When applying the label, press firmly. This helps the adhesive spread and fill small gaps. For some types of plastics, a special adhesive may be needed. If the label comes off, try a different adhesive or a thicker label. Pressure-sensitive labels adhere well to clean, dry surfaces.
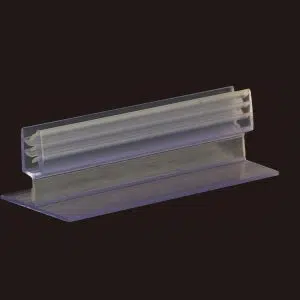
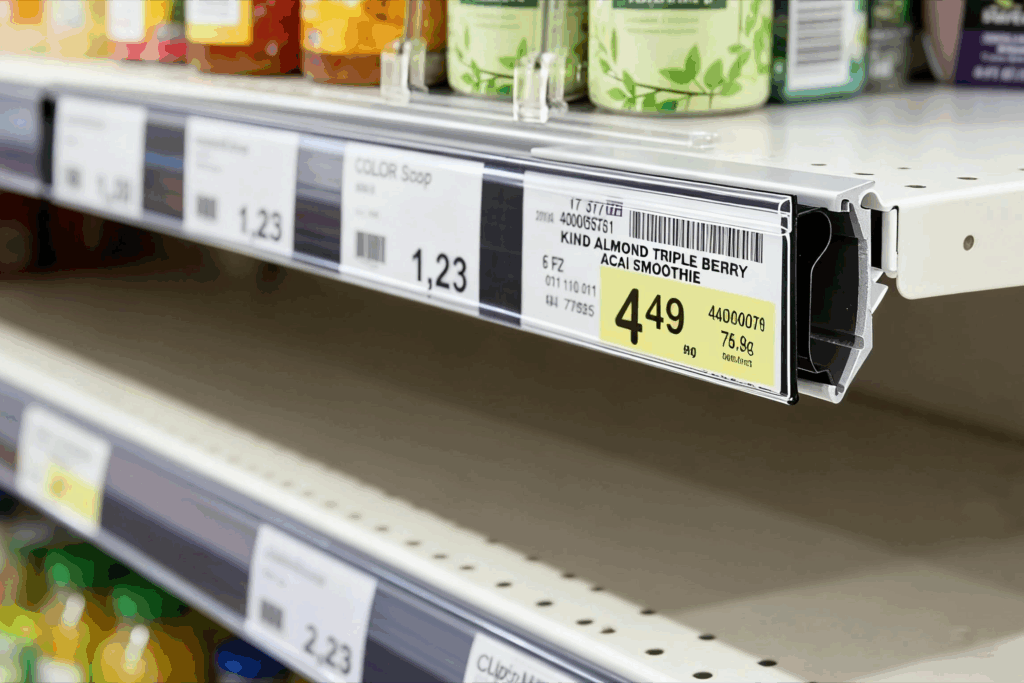
Retailers and warehouse workers frequently use IDmate data strips for shelf labeling. These shelf data strip clip onto shelves for attaching price tags or barcodes. They help prevent labels from detaching and leaving sticky residue. The table below lists the reasons why many people choose these data strips:
| Advantage | Description |
|---|---|
| Durability | Made of tough plastic, they last in busy stores and warehouses. |
| Ease of Use | Quick to apply, no tools needed for most types. |
| Versatility | Fit metal, wood, or wire shelves in many sizes and styles. |
Textured or Difficult Surfaces
Textured or rough surfaces can make labels difficult to apply. If the surface is uneven, pressure-sensitive labels may not adhere firmly. To ensure labels adhere firmly, follow these steps:
- Clean the surface to remove dirt and grease.
- Choose an adhesive that matches the texture and condition of the surface.
- Apply the label at the appropriate temperature.
Some adhesives work better on rough surfaces. Rubber-based adhesives provide strong adhesion even in cold environments. Silicone adhesives remain strong in high temperatures or harsh conditions. The shape and stiffness of the label are also important. It should adhere to the surface to prevent lifting. Pressure-sensitive labels work best in clean environments with suitable temperatures.
Prevent Label Peeling and Bubbles
Overlap Labels for Better Hold
Labels can be prevented from lifting by overlapping them at the edges. When labels overlap, they bond together and cover weak areas. This is very effective for corners and areas prone to lifting. Store staff use overlapping labels to help secure labels to shelves or racks. Overlapping also prevents lifting in high-traffic areas where labels are frequently touched. For strong adhesion, each layer of label should be pressed down firmly, expelling any air.
Overlapping labels is an easy way to keep edges flat. It stops bubbles from forming. People have fewer problems when they use this method.
Some materials, such as breathable labels, allow air to escape after application. Micro-embossed surfaces help air escape, keeping the label flat. These materials reduce bubbles and curling, making labels look neat and attractive.
Avoid Touching Adhesive Side
He should not touch the adhesive side of the label. Oils and dirt from fingers can cause labels to curl. A dirty adhesive side reduces its stickiness. Some people believe that touching the adhesive side can judge the strength of the adhesive, but this is incorrect. Different adhesives have different strengths, and touching does not reflect their stickiness.
- Touching the adhesive side will make it dirty.
- Touching cannot judge the strength of the adhesive.
- Keeping your hands and tools clean helps prevent labels from curling.
If he wants the label to adhere firmly to the surface, he should hold the label by the edge and carefully apply it. A clean surface and gentle handling help the label adhere better and extend its lifespan.
Environmental Factors Affecting Label Adhesion
Humidity and Temperature
Humidity and temperature affect label stickiness. If the air is humid, the adhesive on the label may initially feel stickier. However, excessive moisture in the air can form a film of water between the label and the surface, affecting the label’s stickiness. Cold air hardens the adhesive, reducing its stickiness. Hot air softens the adhesive, sometimes causing the label to become less sticky and easier to peel off.
Here are some suggestions for addressing these issues:
- Store labels in a place with a suitable temperature, avoiding excessive heat or cold.
- Ideally, store labels in an environment with a temperature of 22°C (72°F) and humidity of 50%.
- Let the labels sit at room temperature for one or two days before use.
- Do not apply labels to damp surfaces.
A company uses the same adhesive in two countries. The Mexican factory has higher humidity, and the labels are less sticky. This is because the adhesive dries too quickly in Mexico. This demonstrates that environmental factors are crucial to label stickiness.
Sunlight and UV Exposure
Sunlight not only causes colors to fade, but ultraviolet (UV) rays also damage the chemicals in labels and adhesives—a phenomenon known as photodegradation. Photodegradation can cause labels to peel or lose their stickiness.
Photodegradation occurs when labels are exposed to sunlight or UV rays for extended periods. This breaks the chemical bonds in the colors and dyes, leading to fading. Simultaneously, it reduces the adhesive’s tack, causing labels to peel or lose their stickiness.
To avoid these problems, avoid exposing labels to sunlight. If possible, use UV-resistant materials. This helps labels maintain vibrant colors and good adhesion, even in bright sunlight.
Troubleshooting Label Peeling
Fixing Peeling Labels
Labels falling off is incredibly frustrating. This is usually caused by a variety of reasons. Sometimes it’s because the label size is incorrect. Rough surfaces can also cause labels to fall off. Extremely cold or hot weather, as well as humid environments, can exacerbate this problem. Here are some ways to fix a peeling label:
- Press the edge of the label with a clean, dry cloth.
- Apply a small amount of glue under the peeling part.
- Press firmly and hold for a few seconds to help it adhere securely.
- If the label is the wrong size, replace it with a properly sized one.
Tip: Before relabeling, always check the surface for bumps or dust. A clean, smooth surface helps labels adhere well.
Maintaining an indoor temperature between 65°F and 77°F and controlling humidity helps prevent labels from falling off. These are the optimal conditions for labels to adhere firmly.
Removing Sticky Residue
Old labels may leave sticky residue. This residue easily attracts dust and can affect the adhesion of new labels. Here are some methods to remove sticky residue:
- Wipe the stain with isopropyl alcohol and a soft cloth.
- For stubborn stains, use a commercially available glue remover.
- Try gently scraping away the remaining glue with a plastic scraper.
Caution: Do not use sharp tools to avoid scratching the surface.
Be sure to allow the stained area to dry completely before applying a new label. This will help the new label adhere firmly and look neat.
To get labels to stick better and prevent peeling, he should:
- Clean and dry the surface.
- Choose the right adhesive and material.
- Apply with firm pressure and let the adhesive set.
- Watch for temperature and humidity.
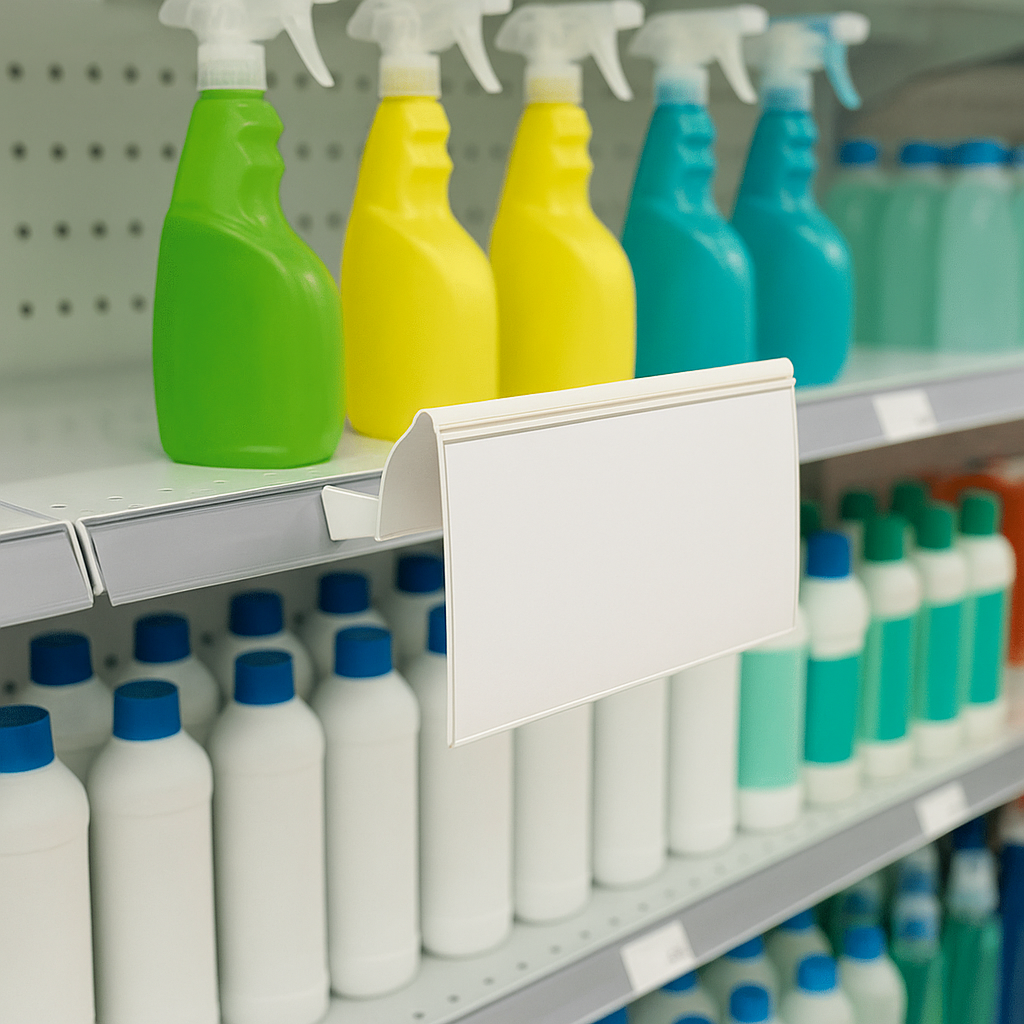
For tough spots or frequent changes, IDmate Data Strips offer a smart solution:
| Feature | Benefit |
|---|---|
| Versatility | Fits many shelf types |
| Easy to update | No need to re-stick tags |
Good prep and technique help get labels to last longer.
FAQ
How long should I wait after labeling?
For best results, wait at least 24 hours. Most adhesives reach full strength within 24 to 72 hours.
What’s the best way to clean a surface before labeling?
Using a lint-free cloth dampened with isopropyl alcohol works best. This removes oil and dust. A clean surface helps the label adhere more firmly.
Can IDmate Data Strips be used on any shelf type?
| Shelf Type | Compatible with Data Strips? |
|---|---|
| Metal | ✅ |
| Wood | ✅ |
| Glass | ✅ |
| Wire | ✅ |
IDmate Data Strips fit almost any shelf!