Self-adhesive labels are ideal for quickly labeling merchandise and are widely used in stores. These labels can be affixed to shelves, merchandise, or signage without glue or tools. Here are some of the best uses for self-adhesive labels:
- Product Identification
- Price Tags
- Barcodes and Expiry Dates
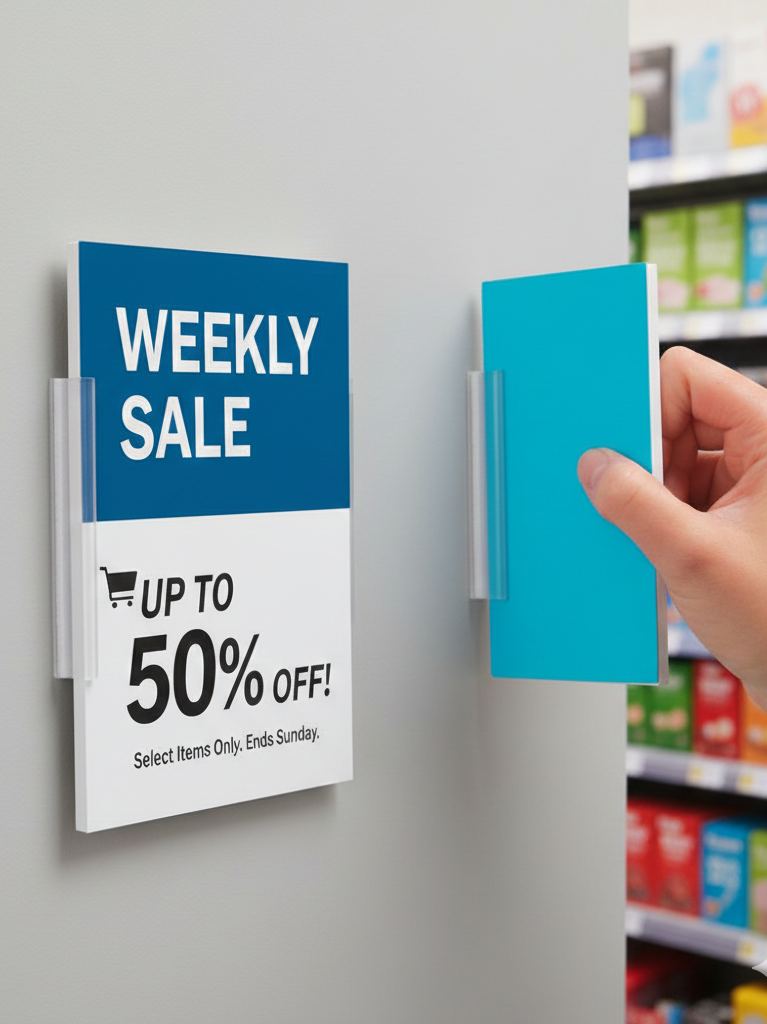
- Promotions and Discounts
- Clearance Sale Tags
The self-adhesive label market continues to grow. These label holders make organizing merchandise easy for everyone. Many people choose self-adhesive labels because they are cost-effective and extremely convenient to use. Self-adhesive labels help maintain a clean and professional store image. Anyone can easily apply labels in seconds.
Key Takeaways
- Self-adhesive stickers are simple to use. You can use them for labeling products, pricing, and promotions. You do not need glue or tools.
- Clean the surface before you put on stickers. This helps stickers stick better and last longer. Dirt can make stickers less sticky by up to 30%.
- Place stickers carefully. Line them up with guides before pressing down. This helps you avoid mistakes and makes them look professional.
- Press the middle of the sticker first. Then smooth outward to remove air bubbles. This gives a neat finish.
- Let stickers sit for 24 to 72 hours. This lets the adhesive get strong. It helps stickers stay in place longer.
Surface Prep for Self-Adhesive Stickers
Cleaning the Area
Before using self-adhesive labels, the adhesive area must be cleaned. Dirt, grease, and dust can affect the sticker’s stickiness. Experts say that a clean surface helps extend the sticker’s adhesion time. If cleaning is neglected, the sticker may fall off or shift. Cleaning can increase the sticker’s stickiness by up to 30%. Sometimes, dirt can reduce the sticker’s stickiness by half. Before using IDmate self-adhesive label holders or data strips, ensure the shelf is clean.
Wiping the shelf with a lint-free cloth works best. For stubborn stains, use a mild detergent such as soap or alcohol. After cleaning, be sure to let the shelf dry completely. Damp shelves will affect the label’s stickiness. Retailers will check the edges of the shelves for dust. Even a small amount of dust can cause problems. Tip: Clean the edges of the shelf before applying any labels. This simple step is very effective.
Tip: Clean the shelf edge before putting on any sticker. This easy step helps a lot.
Choosing the Right Spot
Choosing the right place to adhere is just as important as cleaning. Labels adhere best to smooth, flat surfaces. Some surfaces, such as glass or steel, may have coatings that affect label adhesion. Plastic surfaces may contain release agents, which can cause labels to slip off. Look for smooth areas free of bumps, dents, or oil stains.
Different adhesives work for different materials. For example, labels designed for plastic may not adhere to wood. Retailers choose the appropriate label type based on the material of their shelves. They avoid rough or uneven surfaces, as labels are prone to wrinkling or falling off. Environmental factors also need to be considered. The optimal temperature for labels is around 22°C, and the humidity should be close to 50%.
If you follow these steps, your stickers will stay neat and secure. IDmate products work best when you prep the surface and pick the right spot.
Sticker Application Steps
Applying self-adhesive stickers is simple, but following the correct steps is crucial. People frequently use these stickers in stores, offices, and homes. This method works for label holders, data strips, and regular self-adhesive stickers. Here’s how to get the best results every time.
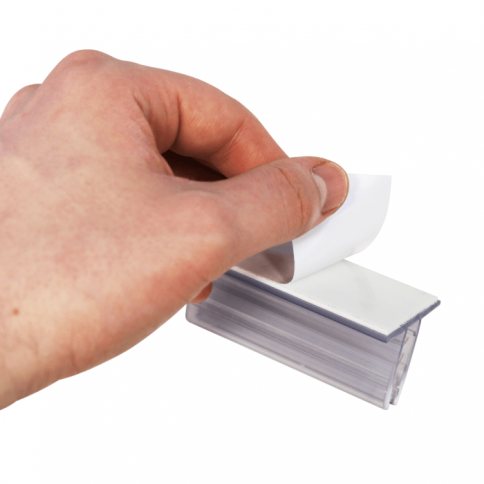
Peeling the Backing
Peeling off the backing paper is the first step in applying the sticker. The backing paper holds the adhesive together until you’re ready to use it. Most self-adhesive stickers have an oily coating on the backing paper, making it easy to peel off the sticker. Usually, start from the edge or corner and slowly peel off the backing paper. This method helps prevent the sticker from curling or sticking together.
Some stickers use thinner backing paper that requires a little more force to peel off. Thicker backing paper is easier to peel off. The ease of application depends on how you peel off the backing paper. If you rush, the sticker may wrinkle or tear. Taking your time ensures a smooth application.
Tip: Hold the sticker flat and peel the backing slowly. This keeps the sticker straight and ready for the next step.
Positioning the Sticker
The positioning of the sticker is crucial. People usually measure and mark the position before applying it. This helps avoid mistakes and keeps things neat. For fixtures, walls, or products, aligning the sticker with guide lines or edges creates a professional look.
Here’s a simple way to position self-adhesive stickers:
- Hold the sticker over the target location.
- Align the edges with any markings or guide lines.
- Gently press the sticker onto the surface.
If you press too early, you may need to readjust the position. It’s best to adjust the position before pressing. Many shops use this method to apply IDmate label holders and data strips. They want each sticker to look clean and neat.
Note: Always check the surface temperature. Stickers stick best when the surface is above 50°F.
Pressing and Smoothing
Pressing and smoothing is the final step. People usually press the center of the sticker first and then smooth it towards the edges. This method removes air bubbles and helps the sticker adhere firmly. Using a scraper, squeegee, or even a credit card can effectively smooth the sticker surface.
Applying sufficient pressure—approximately 15 to 30 psi—will ensure the sticker adheres to the surface. After pressing, allow the sticker to sit for 24 to 72 hours. This time allows the adhesive to fully develop. During this period, avoid touching or moving the sticker.
Here’s a quick comparison of application techniques:
| Factor | Recommendation |
|---|---|
| Surface Preparation | Clean the surface with a soft cloth and cleaner for better adhesive bonding. |
| Application Method | Align the sticker, press the center, and smooth toward the edges. |
| Adhesive Setting Time | Allow up to 72 hours for the adhesive to fully bond without disturbance. |
Tip: If you see bubbles, use a card to push them out toward the edges. This keeps the sticker flat and neat.
Self-adhesive stickers offer a simple way to organize and display information. The sticker application steps work for label holders, data strips, and all types of stickers. People love the ease of application and the clean results. When you apply stickers with care, they last longer and look better.
Tips for a Perfect Sticker Finish
Avoiding Bubbles
Air bubbles can affect the appearance of self-adhesive stickers. To achieve a smooth and flat finish, follow these simple steps:
- Clean the surface with a soft cloth and mild soap. Dirt or dust can cause air bubbles to form under the sticker.
- Before applying the sticker, spray a small amount of soapy water on the application area. This helps the sticker move easily and prevents it from sticking too quickly.
- Use masking tape to hold the sticker in place and adjust its position.
- Press the center of the sticker first, then use a scraper or card to smooth the sticker towards the edges. This will remove any air bubbles or moisture.
- Once all air bubbles have disappeared, slowly peel off the backing paper.
Tip: Take your time during sticker installation. Rushing can lead to trapped air and wrinkles.
Fixing Mistakes
Sometimes, stickers get misplaced or need repositioning. You can try the following methods to correct these mistakes without damaging the surface:
- Test on a small area before peeling off the entire sticker.
- Heat the adhesive on the sticker with a hairdryer or damp cloth; this will make it easier to peel off.
- Gently peel the sticker off with your fingers or a plastic scraper. Avoid using sharp tools.
- Wipe away any remaining adhesive with alcohol or a mild detergent.
- Dry the sticker before trying to apply it again.
Patience helps avoid damaging the surface. If the sticker is still sticky, it can be reused immediately.
Making Stickers Last
To keep self-adhesive stickers looking good, people should care for them properly. The type of material, the surface, and the environment all matter. Vinyl stickers last longer outdoors, while paper stickers work best indoors. Regular cleaning with mild soap and water keeps stickers bright. Avoid harsh cleaners or scrubbing.
| Material | Lifespan | Best Use |
|---|---|---|
| Paper | 0 months | Indoor only |
| BOPP | < 1 year | Limited outdoor use |
| Vinyl | 5-10 years | Outdoor, all weather |
| Polyester | > 10 years | High heat, tough jobs |
The right material and good care help stickers last longer and stay in place.
IDmate self-adhesive stickers make label updates easy. People can slide out old labels and insert new ones without removing the holder. This saves time and keeps displays neat.
Customization and Retail Uses of Self-Adhesive Stickers
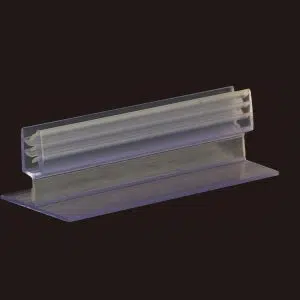
Label Holders for Shelves
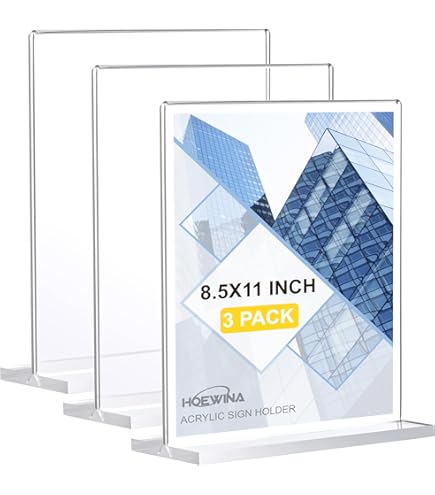
Retail stores use label holders to keep shelves tidy. These label holders are like special stickers affixed to the edges of shelves. Staff slide price tags or barcodes into transparent label pouches. This helps customers easily see prices and product names. Stores can quickly change labels without removing the label holders.
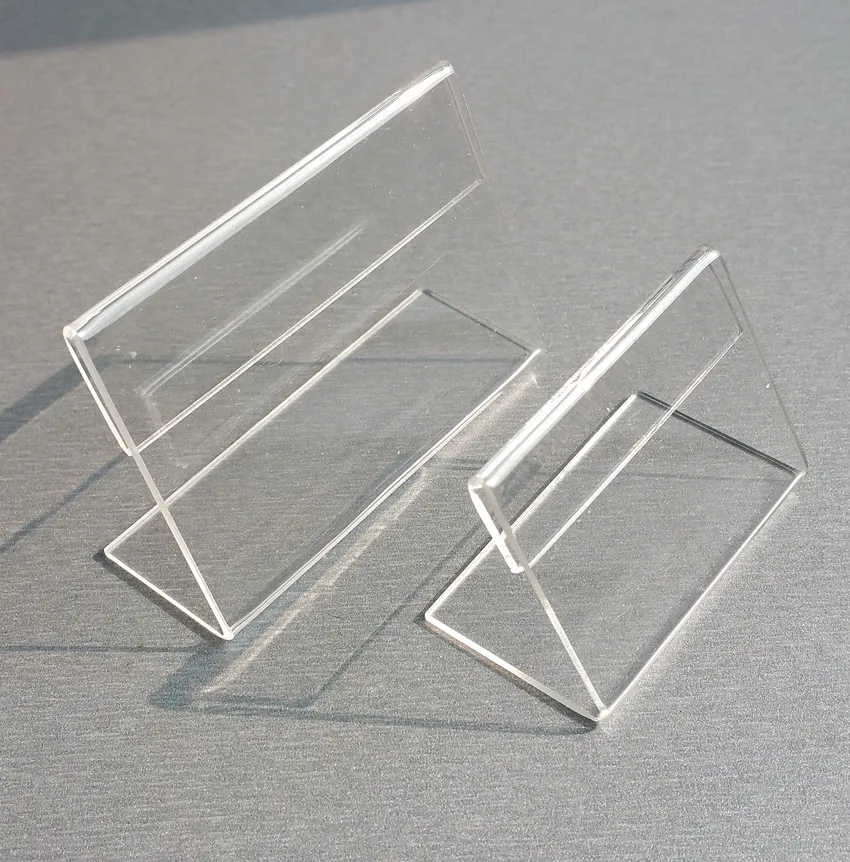
Many stores want their shelf displays to match their brand style. They can choose label holders in different sizes, shapes, and colors. Some stores choose bright colors to attract customers, while others use colors that match their brand. Adding logos or designs helps customers remember the store. Here’s a brief overview of how stores can customize their label solutions:
| Customization Aspect | Details |
|---|---|
| Size Options | Standard sizes (1-inch to 8×10 inches) and fun shapes like stars, hearts |
| Color Customization | Match brand colors and styles |
| Branding Elements | Add logos and unique designs |
Tip: Custom label holders help stores stand out and make shopping easier for everyone.
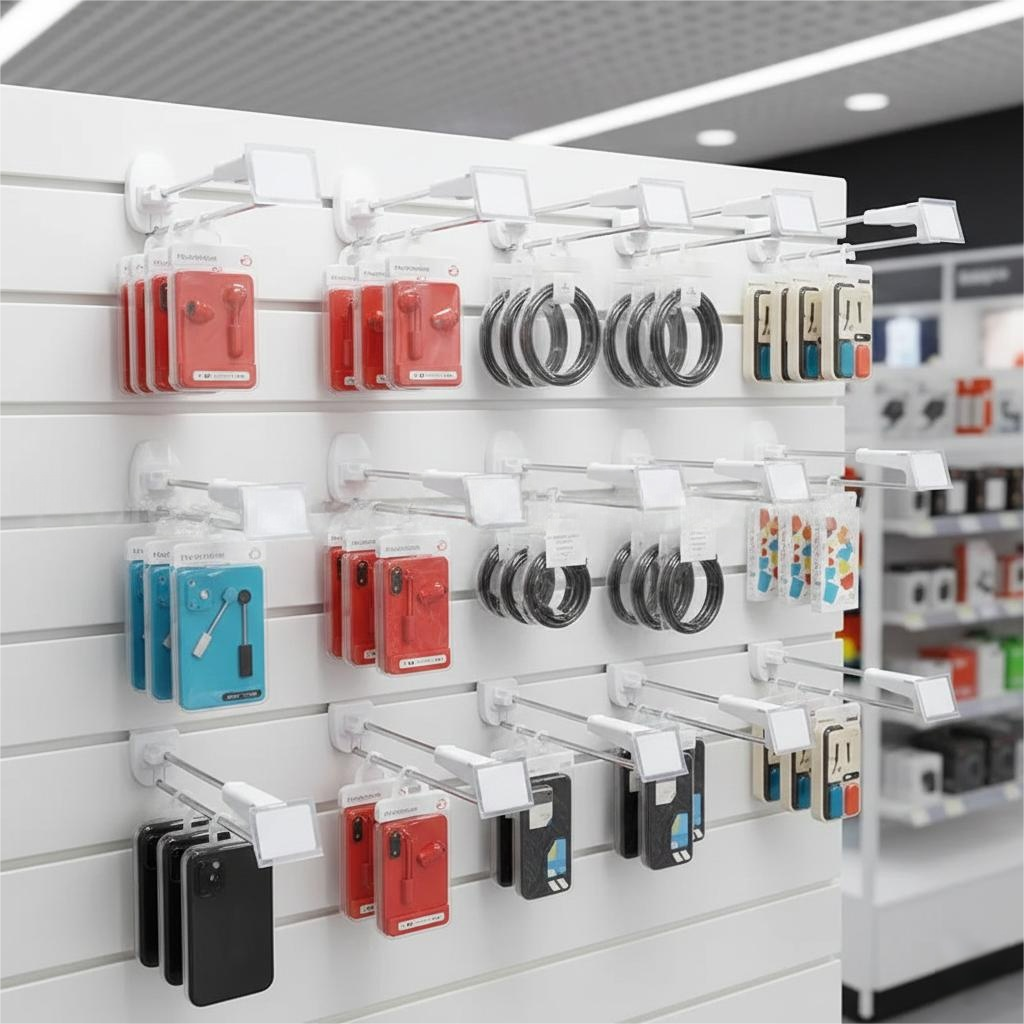
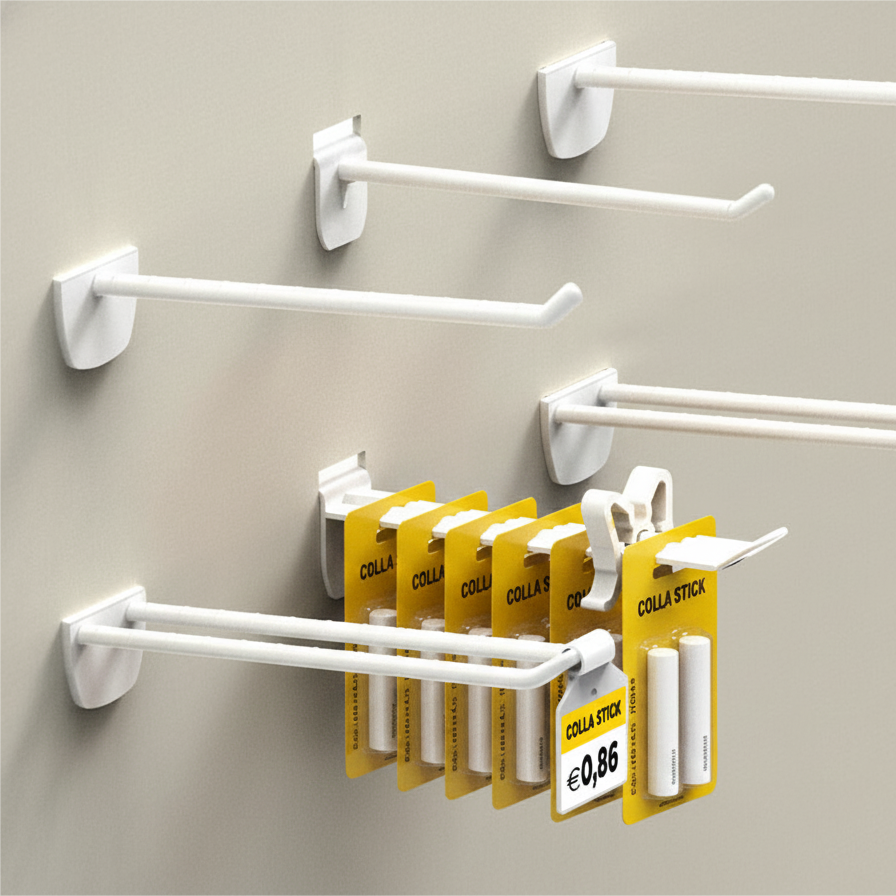
Data Strips for Organization
Data strips are another common type of sticker used in stores. Store clerks affix these stickers to shelves to hold price tags or information cards. Data strips help keep shelves tidy and help customers quickly find products. Stores also use them to display prices and promotional information.
Various self-adhesive stickers, such as data strips, are used in many stores. Supermarkets, convenience stores, and specialty stores all use them. These stickers help clearly display prices, showcase promotional information, and make shopping more convenient. They also help store clerks check inventory and restock promptly. Here are some advantages of using these stickers in the retail industry:
| Benefit | Description |
|---|---|
| Clear Pricing and Product Info | Shows prices clearly and helps customers decide quickly |
| Highlighting Promotions | Draws attention to sales and discounts |
| Streamlined Shopping Experience | Makes it easy for shoppers to find products |
| Enhanced Inventory Management | Helps staff keep track of stock and reorder when needed |
| Increased Sales and Engagement | Well-labeled shelves boost customer interest and highlight new items |
Retailers also care about the environment. Many now pick stickers made from biodegradable materials or use eco-friendly inks and adhesives. This helps stores meet customer needs for green products.
Note: IDmate offers custom sizes and colors, plus bulk order benefits for growing businesses.
Using the right sticker helps stores stay neat, look professional, and make shopping better for everyone. The common uses of self-adhesive stickers in retail show how important these tools are for daily work.
Putting on self-adhesive stickers is not hard. You just need to follow a few steps to get good results:
- Choose a surface that is smooth, clean, and dry.
- Wash the spot with soap or rubbing alcohol.
- Use masking tape to hold the sticker in place, then peel off the backing.
- Press the sticker in the middle first, then push out to the sides to get rid of bubbles.
- Leave the sticker alone for one or two days.
You do not need any tools to apply stickers.
| Feature | Description |
|---|---|
| Modular Design | Easy to install and use |
| Easy Controls | No special skills needed |
IDmate gives smart ways to organize stores. With good prep and careful steps, anyone can make stickers look neat and last longer.
FAQ
How long do self-adhesive stickers last?
Most stickers last for years if people apply them to clean, dry surfaces. IDmate label holders and data strips use strong adhesive. They stay in place even in busy stores.
Can people remove and reuse self-adhesive stickers?
People can remove most stickers, but they may not stick as well the second time. IDmate label holders let users change labels without removing the holder.
What surfaces work best for self-adhesive stickers?
Smooth, flat surfaces like glass, metal, or plastic work best. People should avoid rough or oily spots. Clean shelves help stickers stick better.
Do people need special tools to apply these stickers?
No tools are needed. People can use a credit card or squeegee to smooth out bubbles. The process is simple and quick.
Can people order custom sizes or colors from IDmate?
Yes! IDmate offers custom sizes, colors, and even logos. Stores can match their brand style and get the perfect fit for any shelf.