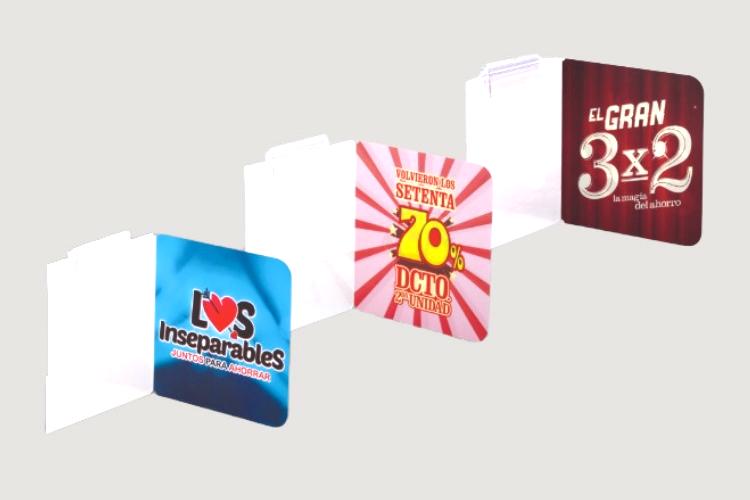

Crafters engrave an acrylic plaque neatly using special cutting tools to create unique display pieces that can be used with sign holders for retail, office, and promotional applications. They engrave cast acrylic to make a cloudy plaque style, while extruded acrylic works well for shaping. This guide explains every step of a colorful engraving process. Bright paint shades make the plaque design stand out during the coloring process. Every color pick gives the acrylic plaque design deep shades and clear visual differences for your project.
Key Takeaways
- Cast acrylic sheets are the best choice for laser engraving. The high heat makes a bright, clean frosted appearance on the material.
- Laser tools and spinning carving tools make clean, carved lines for words, designs, and personal art.
- Acrylic paint or wax fills deep carved lines to make your sign design pop with bright contrast.
How to Engrave an Acrylic Plaque

Material Selection for Acrylic Signs
Crafters pick the right material sheets before starting any new project. Cast acrylic sheets handle high heat well and create a bright frosted look when laser engraved. Extruded acrylic sheets cost less, like $100 for a 4 x 8-foot sheet of quarter-inch clear stock, but they soften above ~195°F and melt faster when worked on a smooth acrylic surface.
| Material Type | Heat Resistance | Engraving Finish | Routing Reaction |
|---|---|---|---|
| Cast Acrylic | High heat resistance | Bright frosted contrast | Produces clean edges |
| Extruded Acrylic | Softens above ~195°F | Lower contrast finish | May warp or clog bits |
Two-tone sheets offer another great choice for making a color engraved plaque on plain clear acrylic sheet stock.
- Two-tone sheets have a top layer attached over a different colored base.
- A laser beam removes the top layer during each step.
- Uncovered base layers show a bright color design right away without hand painting.
Laser and Rotary Tool Engraving Tutorial
Makers follow clear steps to engrave an acrylic plaque neatly for a clean plaque display. This color engraving guide offers a full lesson for any creator who wants step-by-step help. Users must clamp each plaque tightly to the work table or use a vacuum system so it does not shift while engraving.
| Operation Mode | Machine Motion | Primary Engraving Use |
|---|---|---|
| Raster Engraving | Back-and-forth scanning | Detailed photo graphics and shaded design artwork |
| Vector Engraving | Follows geometric lines | Crisp lettering text and sharp design outlines |
A maker prepares a Glowforge laser cutter or rotary tool to engrave a custom plaque design. A Glowforge laser engraver moves side to side across filled artwork before vector lines cut the outer shape. The Glowforge tool gives smooth accuracy across the whole artistic design layout.
- Load the design file into the program and pick target color layers to engrave.
- Clamp the material flat on the laser bed to keep a steady focus through every step.
- Start the raster pass to engrave detailed design parts into the top layer.
- Run the vector cut to finish the last step of the engraving project.
A crafter can also carve manual details with a rotary tool at low speeds. Gentle pressure stops surface heat from building up when crafters engrave curved lines. This process step ensures sharp lines.
Adding bright paints turns a plain sheet into a colorful engraved plaque. Crafters use smart coloring tricks to highlight small grooves after the laser finishes. Trying different coloring tricks helps makers get unique visual results. Acrylic paint fills deep laser lines quickly, while wax pastes add lively shades. One common trick involves spreading paint over etched spots and wiping extra paint off the surface. A maker builds multi-color looks by mixing distinct shades inside deep cut lines. Bright shades make small letters stand out clearly. Extra shades add artistic depth. Strong shades boost contrast. Picking rich color choices makes every visual design part pop on the custom plaque design for custom plaque making. This color engraving trick gives great results for display. Using this color engraving trick ensures clean lines. Following this color engraving trick saves time. Using this color engraving trick improves quality.
Step-by-Step Name Plate Finishing

Etching and Cleaning Techniques
Operators keep the workspace safe during laser etching. A Glowforge unit creates chemical fumes and tiny dust particles. Sealed cases trap these emissions while outside fans blow the dirty air outdoors. Wearing a simple dust mask keeps you comfortable while moving materials around.
Lasers carve clean lines, so workers wipe away dust to keep the plastic clear. A soft rag dampened with mild soapy water cleans frosted details gently. Spray without ammonia cleans safely without leaving behind a messy film. Stay away from rubbing alcohol because harsh chemicals crack delicate plastic. Daily cleaning takes a simple routine, while deep restoration needs a smart approach that leaves no marks behind.
Techniques for Color Engraving Signs
Crafters follow a simple guide to turn a plain sign into a bold display piece. Thick acrylic paint gives full coverage inside every single cut line. Acrylic nail polish offers a long-lasting way to paint your etched design neatly. Cheap craft paints look weak, but smart coloring tricks create bright and colorful artwork.
This helpful lesson guides you through every single step of adding colorful paint. Machines carve detailed patterns, so makers brush paint over the design before it dries out. These painting tricks help artists layer bright colors inside cool geometric shapes. Picking high-contrast colors makes complex etched designs stand out very clearly.
Every careful painting step makes letters easier to read through clear plastic boards. Special tools carve clean letters, so following this lesson helps makers improve their sign-painting skills. In this helpful guide, a painted plastic sign shows off bright colors through smart shade choices. Rotary tools carve smooth curves, while laser beams etch sharp text onto clear plastic sheets. A Glowforge machine gives great coloring results on every single desk sign project. Companies like IDmate make custom plastic sign holders for big wholesale orders. Modern offices display a colorful plastic sign inside a clear holder to show off brand colors neatly.
This step-by-step guide helps you carve great custom designs into your plastic signs. Crafters can use dark, light, bold, or warm paints to fill in the lines. Smart painting tricks bring out the etched patterns, highlighting every detail on your colorful board. Adding bright colors makes your custom sign pop, turning a simple plastic sheet into an eye-catching display piece.
FAQ
How Is a Color Design Engraved on an Acrylic Plaque?
Makers select a laser engraving method to create detailed patterns on acrylic plaques. Crafters apply paint fill to highlight engraved areas and enhance the visual effect with vibrant colors.
What Are the Benefits of Color Engraving for Acrylic Plaques?
Laser engraving creates precise lines and clear details on acrylic plaque materials. Artists use bright acrylic paints to enhance contrast, improve readability, and create attractive display designs.
How Can Acrylic Plaque Engraving Maintain Long-Lasting Color and Clarity?
Proper care helps protect acrylic plaque surfaces and preserve engraved details. Regular cleaning keeps the colors bright while maintaining clear engraving lines and visual contrast.
How Can Acrylic Plaques Be Displayed with Sign Holders?
Acrylic plaques can be combined with sign holders to create professional display solutions for retail stores, offices, exhibitions, and promotional environments. IDmate provides various sign holders designed to securely display acrylic signs, printed materials, and customized plaques with a clean and organized appearance.