Mounting a grid‑wall display to your wall requires proper mounting hardware, precise measurements and basic hand‑powered tools. A standard 2 ft × 6 ft powder‑coated steel grid panel can bear up to 275 lbs under correct installation, according to the manufacturer. Before you start, identify your wall type, whether it is drywall, concrete or brick, so you can select the most suitable mounting method. This do‑it‑yourself grid wall installation workflow includes marking reference points, drilling pilot holes and securing wall brackets. Almost anyone can finish the installation with careful operation. A grid accent wall can greatly refresh the visual look of retail spaces. Mastering grid‑wall installation skills helps retailers upgrade their in‑store display layout. IDmate, a well‑established wholesale supplier, provides fully‑customizable retail‑display solutions, including heavy‑duty mounting accessories to set up a safe, flexible grid‑panel display system.
Key Takeaways
- Match your mounting hardware to your wall material to achieve firm, long‑lasting installation.
- Mark drill points accurately and drill pilot holes properly to keep your grid wall level and structurally stable.
- Test the whole assembly for stability before hanging merchandise to avoid unexpected accidents.
How to Install a Grid Wall: Preparation
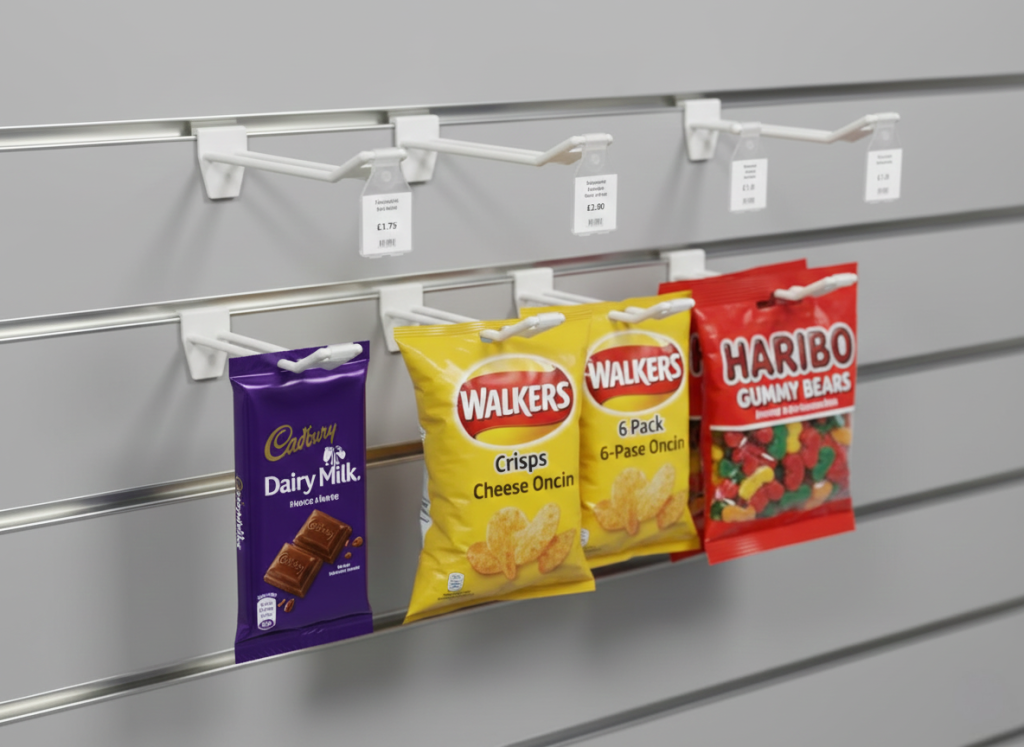
Adequate preparation is essential for successful DIY grid‑wall installation. Advanced planning helps you save working hours, prevent wall damage, and deliver a neat, professional‑looking final display. This preparation stage mainly covers gathering tools and accessories, identifying wall substrate, and selecting compatible mounting hardware.
Gathering Tools and Materials
Getting everything ready before installation will streamline your workflow. You will need a power drill, spirit level, screwdriver, measuring tape and marking pencil. A stud finder helps you locate wooden wall studs hidden behind drywall; studs deliver the strongest load‑bearing support. For installation materials, prepare grid panels, mounting brackets, screws and wall anchors suitable for your wall. Freestanding grid displays require cable ties to fasten panels onto support legs.
Full‑item shopping checklist:
- Grid wall panels
- Wall‑mount installation brackets
- Panel connectors for freestanding layouts
- Screws and wall‑matched anchors
- Spirit level, drill, screwdriver, measuring tape
- Wall‑stud finder
- Wall‑anchors / plastic wall plugs for extra load support
IDmate, a leading wholesale manufacturer of retail display fixtures, supplies a complete series of grid‑wall panels and corresponding mounting hardware. Custom manufacturing service is available so retailers can order grid panels in specific colours and sizes to match their store‑fit‑out style. More than 1,000 stock‑keeping units are kept in inventory to meet diversified display demands.
Choosing Mounts for Your Wall Type
Your wall material determines the most reliable mounting method. Drywall can be fitted with expansion anchors or fixed directly to wall studs. Expansion anchors spread pressure across a wider surface and stop drywall from cracking under heavy loads. If you plan to hang heavy goods, always locate wall‑stud positions with your stud finder to get the most secure anchor points.
Concrete and brick walls need masonry anchors, which expand inside pre‑drilled holes to grip hard substrates and deliver high load capacity. Make sure the weight rating of your selected anchors exceeds the total weight of grid panels plus hanging merchandise.
Correct operating steps for your stud finder:
- Calibrate your detector on a wall section confirmed to be free of studs and hidden wiring.
- Slide the stud finder slowly across the wall surface to avoid false signals.
- Mark both edges of each detected stud; the stud’s centre sits halfway between the two marks.
- Rescan the marked area for a second check to confirm positioning accuracy.
Safe installation rules protect both workers and wall structures. Before drilling, check building blueprints for hidden wiring, especially around wall switches and power outlets. Use a voltage‑sensing stud finder to detect live electrical cables behind plaster. Keep an eye on exposed electrical fittings on your wall. Safety goggles and work gloves are recommended during drilling. Stop drilling immediately if your drill bit gets jammed; this usually means you have hit a metal cable‑protection plate.
Freestanding grid displays do not require wall anchors. Fasten grid panels onto support legs using heavy‑duty cable ties and connect multiple panels side‑by‑side. This drill‑free layout works perfectly for temporary exhibitions or rented commercial premises.
At the layout‑planning phase, measure your wall dimensions and mark bracket locations before you drill. Use a spirit‑level tool to ensure your grid wall hangs horizontally. Test overall stability before loading merchandise and eliminate safety risks. As a trusted fixture supplier, IDmate can send out free product samples so buyers can test hardware performance before bulk purchase. The minimum‑order quantity starts at 1,000 pieces, suitable for small boutique stores and large retail chains alike. With solid preparation work completed, you can build a visually‑appealing grid‑wall display safely holding your retail products.
DIY Grid Wall: Step-by-Step Installation
Marking and Drilling Pilot Holes
Accurate marking determines whether your finished display will sit level. Installers can use an auto‑levelling cross‑line laser level to cast a straight horizontal baseline. Mark your lower‑row mounting brackets at 36‑40 inches above the finished floor. Along the laser baseline, measure the horizontal spacing between the two lower bracket centres and mark these positions with a fine‑tip mechanical pencil for maximum precision.
Then cast vertical laser lines upward from each lower mark to locate upper‑bracket positions. After marking all intersection points you will get a perfectly rectangular mounting zone. This marking method removes guesswork and guarantees all four brackets are properly aligned.
For drywall installation, expansion anchors usually require pilot‑hole diameters between 1/8 inch and 1/4 inch; a 1/8‑inch (3 mm) drill bit fits most standard wall anchors. When drilling concrete or brick, drill a small pre‑hole first, then enlarge it to your final target diameter. This technique reduces cracking risk for hard‑dense walls and lets your drill bit move more smoothly. Apply steady, moderate pressure instead of forcing the drill. Drill vertically into the wall. If your bit becomes overheated, spray cold water on the hole and drill bit for cooling.
Once drilling finishes, insert wall anchors as required. Tap anchors gently with a hammer until their top surfaces sit flush with your wall. Clear dust debris around drill holes before you move on.
Securing Brackets and Hanging the Grid
Install upper brackets first, with their notches facing upwards, so grid panels can drop securely into position. Double‑check bracket plumbness with your spirit level before tightening screws fully. When mounting heavy‑load displays, fasten screws directly into wall studs wherever possible.
After upper brackets are locked firmly in‑place, lift your grid panel and set it down into bracket notches. Verify that the panel lies flat and bears weight evenly on all four brackets. Once alignment is confirmed, attach the lower brackets. Tighten screws moderately. Avoid over‑torqueing, which may strip screw threads or damage drywall plaster.
Freestanding grid walls follow a separate workflow. Secure grid panels to support legs using heavy‑duty cable ties. Start at one corner, place two grid panels side‑by‑side. Loop cable ties through panel edges to lock them onto support legs, and fasten the seam where the two grid sections meet. Repeat the operation on the opposite side. A tiny central gap will remain between joined panels, while the whole frame stays stable and neat‑looking.
When connecting multiple wall‑mounted grid panels, use dedicated grid‑wall joiner clips. Each joiner is a double‑sided clamp tightened via its centre screw. Fit at least five evenly‑spaced joiners along every panel seam. Grid panels can also be joined at angles, forming U‑shaped, straight‑run or zig‑zag display layouts.
Before you hang merchandise, push each panel gently and check for frame wobble. Recheck grid‑panel vertical alignment one final time with your spirit level. IDmate, a leading wholesale manufacturer, supplies custom‑sized grid panels and complete mounting hardware kits for retail‑store environments. OEM and ODM customisation services are supported; buyers can select panel colours and dimensions. Free samples are available for quality verification before bulk procurement. Good pre‑installation work guarantees a professional finished display that safely supports retail goods.
Successful grid‑wall installation depends on suitable tools, matched mounting hardware, precise marking and securely fastened brackets. After levelling your grid assembly, always test stability before placing merchandise. For high‑foot‑traffic retail venues, Class‑A fire‑rated, antimicrobial‑coated grid panels are highly recommended. The more thorough your preparation, the more professional your DIY display outcome. Retailers following this workflow can safely hang grid panels, showcase products and optimise their in‑store layout.
FAQ
What is the maximum weight‑bearing capacity of a grid wall panel?
A properly‑mounted, standard‑size 2 ft × 6 ft powder‑coated steel grid panel can support up to 275 lbs. Distributors should confirm bracket weight ratings exceed the real‑life load before installation.
Can I install grid wall panels on concrete walls?
Yes. Masonry‑expansion anchors are required for concrete and brick substrates, to lock firmly inside drilled holes. A hammer drill paired with masonry drill bits delivers the best drilling performance.
Does IDmate supply custom grid‑wall products?
IDmate provides full OEM & ODM custom manufacturing solutions. Retail buyers can select custom colours, dimensions and special properties such as cold resistance. The wholesale manufacturer offers pre‑order free samples, with a minimum‑order quantity of 1,000 pieces.